If you're encountering the error "Maximum execution time of 30 seconds exceeded" when running a script on your website or blog, you're not alone. This default limit is common on many servers. In this simple guide, I'll show you how to increase the execution time limit, helping you to successfully run your script.

Increasing the Maximum execution time in WordPress
Increasing the maximum execution time of server-side scripts can help ensure your scripts have enough time to run. This can be achieved in several ways, such as editing the php.ini file, .htaccess file, or through other WordPress specific methods. Here's how you can do it:
Increase Maximum execution time in php
- Using an FTP client, navigate to the directory where your website is being hosted or where the script causing the problem is being run.
- Download the php.ini file to your desktop. If no php.ini file exists, simply download the php.ini file from the root of your server.
- Open the php.ini file using your favorite text editor and find the following section:
max_execution_time = 30 - Change 30 to a higher value. For example: 90 and then save the file.
- Upload the modified php.ini file to the directory where your script is being run and then go test your script.
Set Maximum execution time htaccess
- Download the .htaccess file to your desktop.
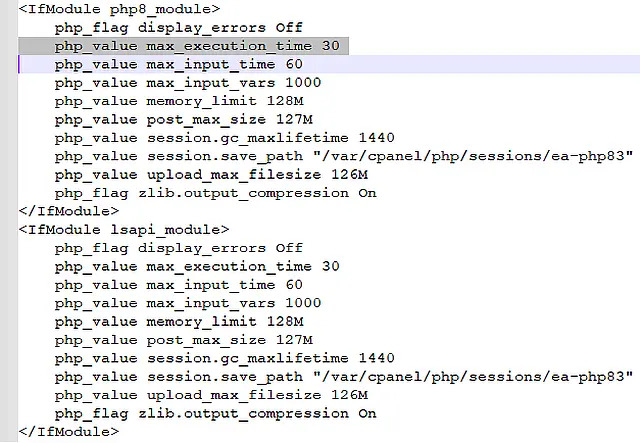
- Open the file using your text editor and find or add the following:
php_value max_execution_time 30 - Set 30 to any higher value 60, 90 etc, and then save the file.
- Upload the modified file replacing the old .htaccess file.
Set Maximum execution time wp-config.php
In place of either of those methods, you could simply add the following line to your wp-config.php file:
set_time_limit(60);If all goes well, your script should now complete before the timeout and the "Maximum execution time of 30 seconds exceeded" error no longer appears.
Enjoy!