How to Delete or Remove Windows Services: Many users want to remove Windows services that are no longer needed, especially when the associated program is uninstalled or disabled. Deleting unused services can help streamline your system and free resources. In this guide, I'll show you a tested method to remove Windows services safely on Windows 11, 10, 8, and 7.
What is a Windows Service?
Windows Services are background applications that run non-interactively on your PC. Many start automatically with Windows, performing essential system or program functions. While some services are necessary, others—especially those installed by third-party software—may no longer be needed and can be safely removed.

Third-party programs sometimes leave behind services even after the software has been uninstalled. As long as the service is stopped first, removing it is straightforward.
How to Delete and Remove a Windows Service
Follow these steps to remove a Windows service:
- Press Windows + R, type services.msc, and click OK to open the Services console.
-
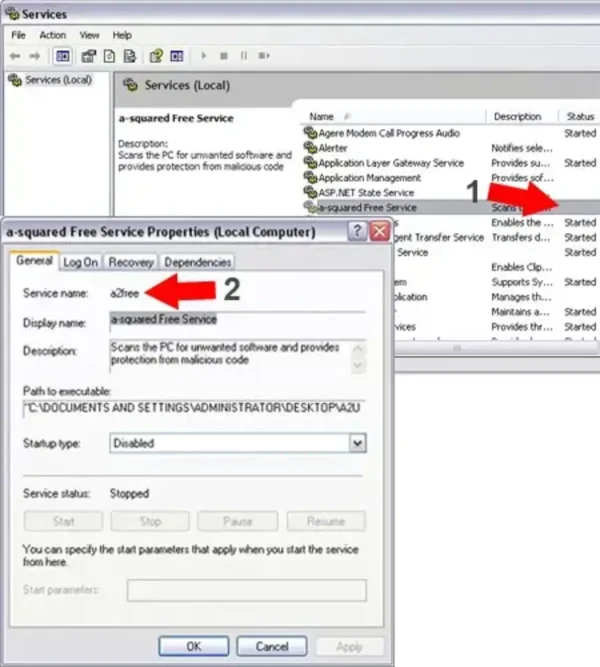
Locate the service you want to delete.
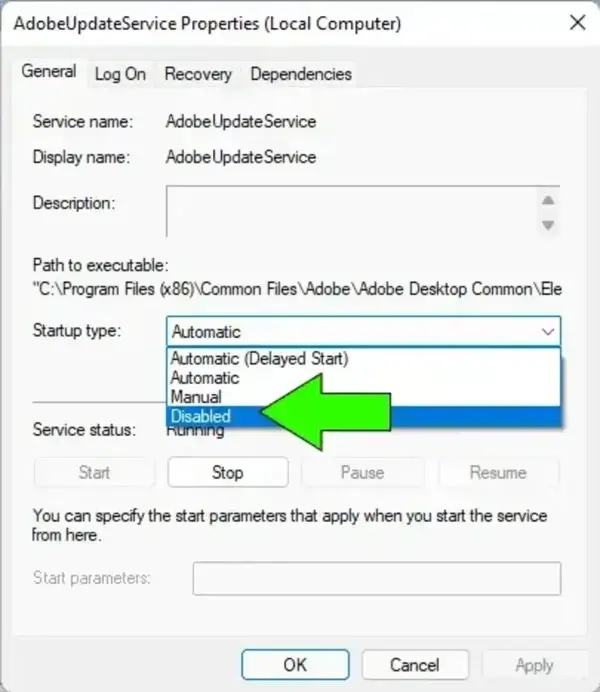
- Ensure the service is stopped before proceeding.
- Right-click the service, select Properties, and make note of the Service Name (not the display name).

- Press Windows + R again, type cmd, and click OK to open the Command Prompt.
- In the command window, type the following command and press Enter:
sc delete [ServiceName]
Replace [ServiceName] with the actual name of the service you noted earlier.

Tips and Notes
- Always stop the service before attempting to delete it. Attempting to delete a running service will fail.
- Be cautious: deleting essential Windows services can destabilize your system.
- Verify the service is removed by reopening services.msc and checking the list.
Once these steps are completed, the unwanted Windows service will be removed from your system, freeing resources and eliminating potential leftover entries from uninstalled programs.
Related searches: delete Windows service, remove service Windows 11, sc delete service command, uninstall Windows service, stop and delete service Windows 10, third-party service removal
