
How to Replace Trailer Bunk Carpet (Boat, Jet Ski, PWC Trailer DIY Guide)
In this guide, I walk through how to replace worn out trailer bunk carpet safely and efficiently. If you've owned a boat, jet ski, or personal watercraft (PWC) for any length of time, trailer bunk carpet replacement is one of those essential maintenance jobs that eventually becomes unavoidable.
Replacing bunk carpet helps protect your hull during loading and unloading, while also extending the life of your trailer bunks, brackets, and wood supports. This process applies to boat trailers, jet ski trailers, and PWC trailer bunk maintenance and repair.
Tools and Materials Needed
- Marine-grade or outdoor carpet (trailer bunk carpet)
- Heavy-duty staple gun (manual or pneumatic)
- Stainless steel staples (T50 1/4” recommended)
- Sharp scissors or utility knife
- Flathead screwdriver or pry bar
- Measuring tape
- Hammer (optional for stubborn staples)
- Replacement trailer bunks (if needed)
How I Replaced My Trailer Bunk Carpet
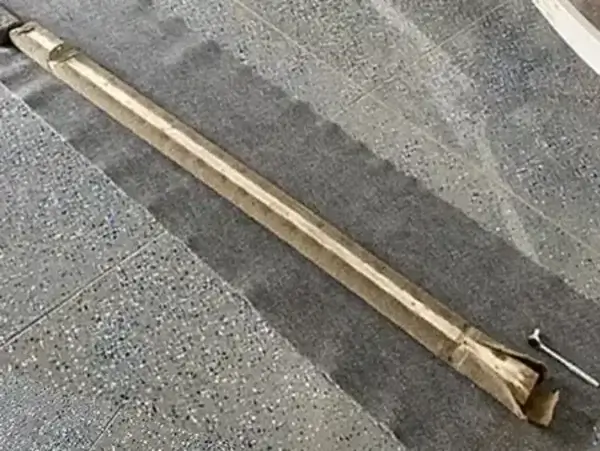
For my 1997 Yacht Club PWC trailer, which hauls a 1996 SeaDoo XP, I replaced the old bunk carpet while keeping the original wood bunks.
This is a very common scenario. In many cases, the wood is still structurally sound, but the carpet is worn thin, fraying, or starting to separate from the boards.
Steps: Replacing Trailer Bunk Carpet
- Remove the bunks from the trailer.
Unbolt the mounting brackets and carefully remove the bunk boards from the trailer frame. Inspect the wood for rot, cracks, or warping before reuse. - Remove old bunk carpet.
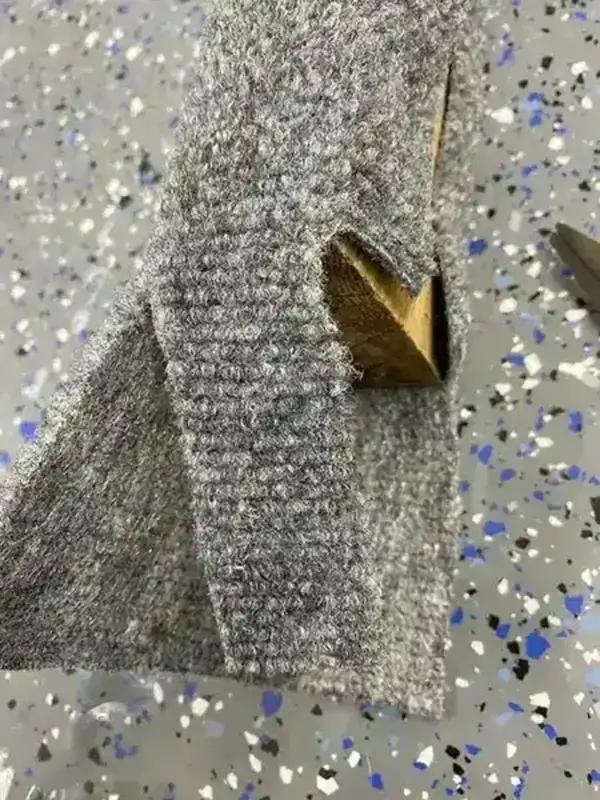
Use a flathead screwdriver or pry bar to lift staples at each end. In many cases, the carpet will peel away and remove most staples with it. For stubborn staples, tap gently with a hammer or work them loose slowly.
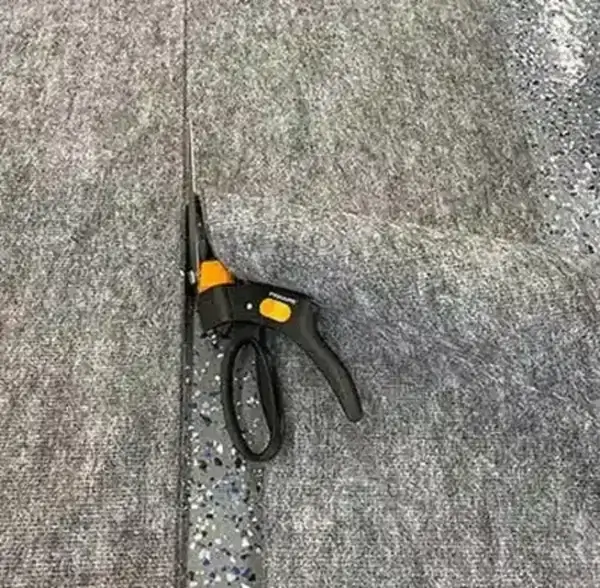
- Cut new trailer bunk carpet.
Lay the old carpet over the new material and use it as a template. Mark your outline and cut carefully with sharp scissors or a utility knife. Leave a slight overhang for wrapping edges.
- Align and center the carpet.
Place the new carpet on the bunk board and align it evenly. Make sure both sides are centered before stapling to avoid wrinkles or uneven tension.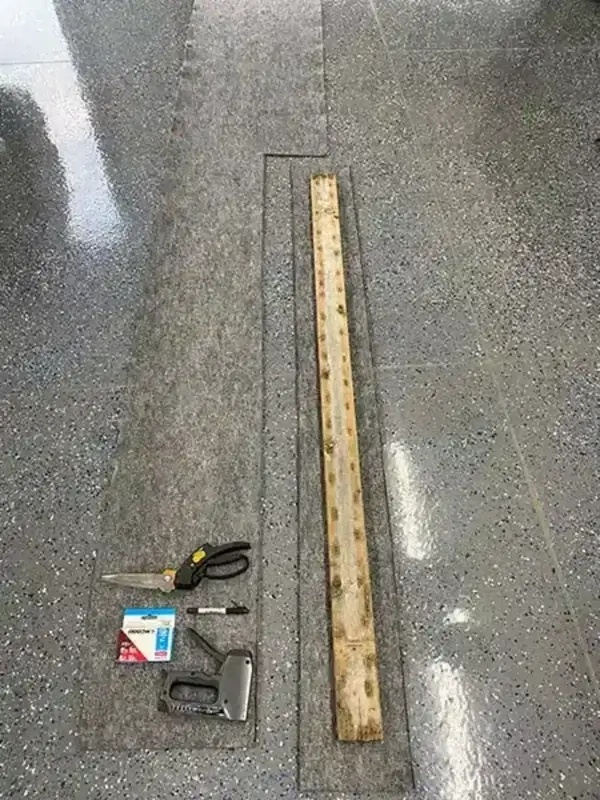
- Staple the carpet in place.
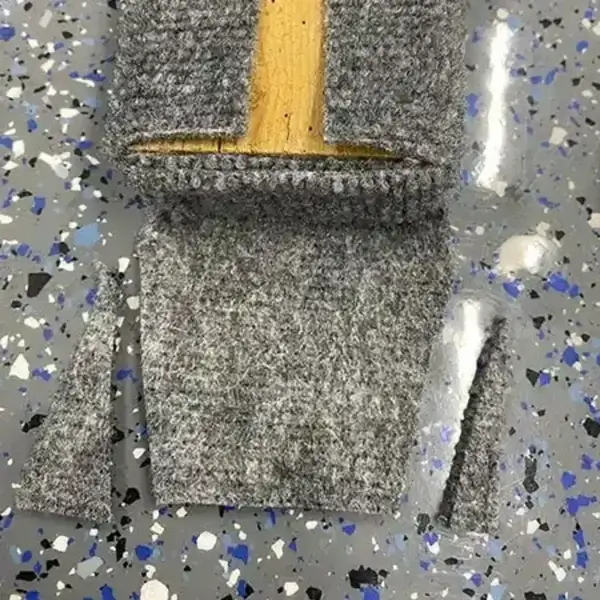
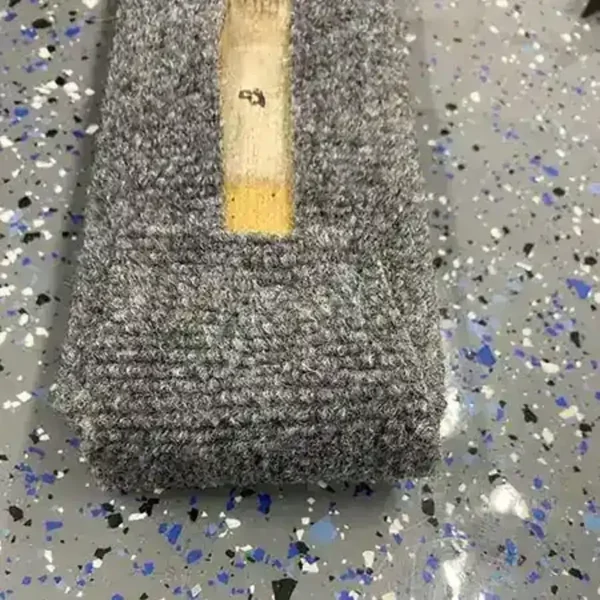
Start at one end with 2 to 3 staples. Pull tight, then move to the opposite side. Continue alternating sides while maintaining consistent tension. Avoid overstretching. - Wrap and secure the ends.
Fold corners like a gift wrap and staple securely. Trim excess material to prevent water trapping and fraying.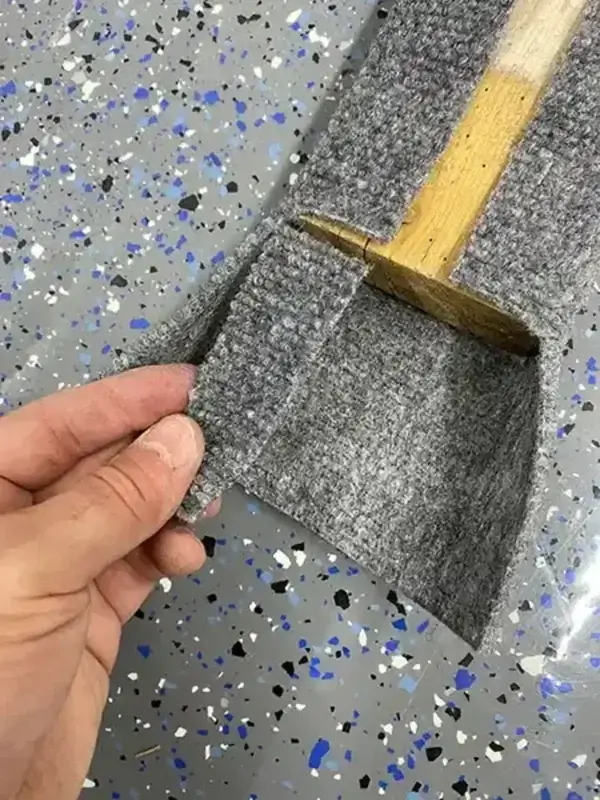
- Reinstall bunks on trailer.
Bolt the bunks back onto the trailer brackets. Ensure everything is level and aligned for smooth loading and unloading of your boat or PWC.
Extra Tips for a Professional Finish
- Use marine-grade adhesive spray under carpet for extra durability
- Sand and seal old wood bunks before re-covering
- Measure twice, cut once to avoid waste
- Add rubber edge trim for high wear areas
- Inspect bunks yearly for loose staples or wear
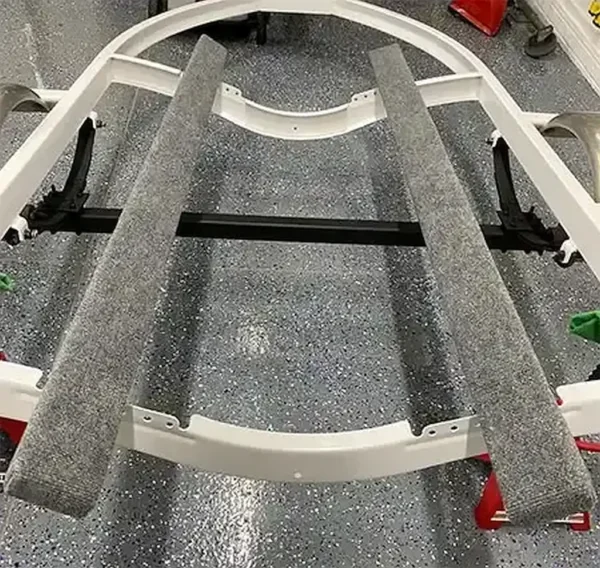
Project Complete
Here is the final result after completing the trailer bunk carpet replacement on my 1997 Yacht Club trailer setup.
Final Thoughts on Trailer Bunk Carpet Replacement
Replacing trailer bunk carpet is one of the simplest and most effective DIY maintenance projects for any boat, jet ski, or PWC trailer.
It protects your hull, improves loading safety, and extends the life of your trailer components. With proper installation and occasional inspection, your bunks will last for years and make launching and retrieving your watercraft much easier and safer.