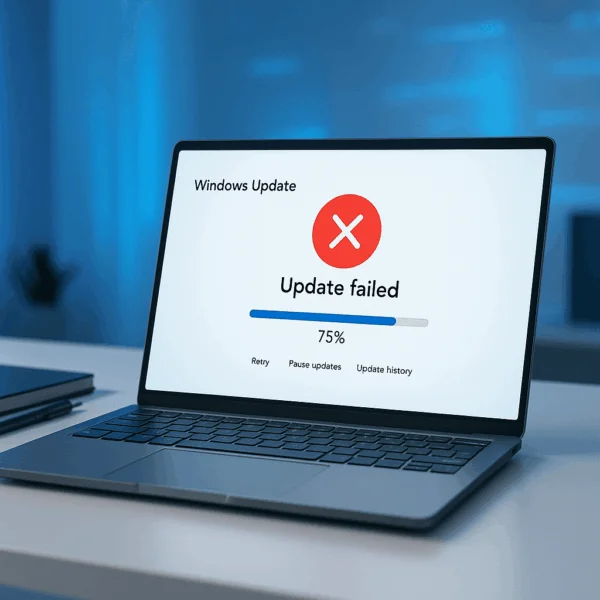
Fixing Microsoft Windows Update Failures (Windows 10 & Windows 11): Are you having trouble downloading or installing Windows Updates? Does the update process get stuck, repeatedly fail, or show error codes like 0x800f0988, 0x80073712, or 0x800f081f?
I recently ran into this issue on a Windows 11 PC, updates would start, then fail every time. Luckily, the fix was straightforward.

How to Fix Windows Update Failures
Step 1 – Run the Windows Update Troubleshooter
- Press Windows key + I to open Settings
- Go to System → Troubleshoot → Other troubleshooters
- Find Windows Update and click Run
- Follow the prompts to apply any automatic fixes
Step 2 – Manually Reset Windows Update Components
If the troubleshooter doesn't solve it, manually reset the update services and cache.
- Open Command Prompt as Administrator
Search forcmdin the Start menu, right-click Command Prompt, and choose Run as administrator. - Stop update-related services
net stop wuauserv
net stop bits
net stop cryptsvc
- Clear the update cache folders (This will not delete personal files, only temporary update data.)
del /s /q %windir%\SoftwareDistribution\*
del /s /q %windir%\System32\catroot2\*
- Restart the services
net start wuauserv
net start bits
net start cryptsvc
Step 3 – Use the Windows Update Assistant
- Download the Windows Update Assistant from Microsoft's website
- Run the tool and follow the instructions to update to the latest version of Windows
Extra Tips when Windows Updates Fail
- Make sure your system clock and time zone are correct
- Free up at least 10 GB of disk space before installing major updates
- Temporarily disable any VPNs or third-party antivirus software during the update process
This updated method works for Windows 10 and Windows 11 and covers both quick automatic repairs and manual resets for stubborn update errors.
