To install software on a Mac is actually easier than installing software on a Windows or Linux operating system. However, it can be somewhat confusing at first, especially if your brand new to using a Mac. In the following simple solution, I will cover the entire process and trust me, it's so simple you wont need to take notes.
The Mac software installation process is composed of a maximum of three simple steps.
- Step 1: Acquiring
- Step 2: Unpacking
- Step 3: Installing
To Install Software on a Mac
- Acquiring Mac Software: First you need to acquire the software either from CD, DVD or the internet. In many cases, software downloaded from the internet, will arrive compressed. Compressed formats include, .zip files, .sit or .sitx files, and .dmg files. If your installing files from a CD or DVD, you can skip the next step as these files are already uncompressed.
- Unpacking Mac Software: You can simply double click the .dmg, .sit, sitx or .zip file and open or (if it is a disk image .dmg) mount the compressed file.
- Installing Mac Software: There are two approaches to install software on a Mac.
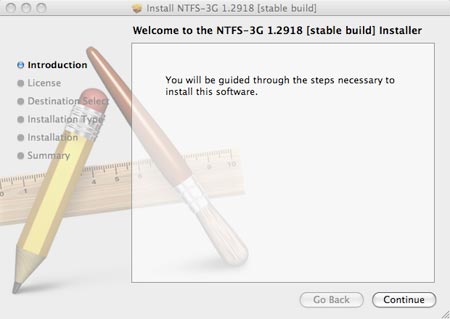
A: If the software comes with it's own installer, it may look like this:

Simply double click the package and you are presented with an automated software installer that may resemble something like this:

With this type of package, you simply follow the onscreen instructions and the application is automatically installed.
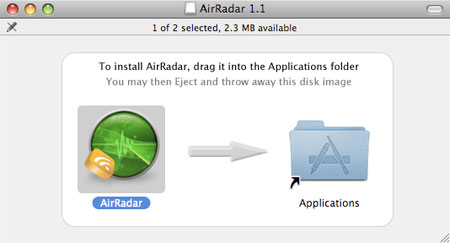
B. To manually install software on a Mac using packages that do not come with an installer, simply drag and drop the application into your applications folder. See the example below:

Cleaning up after a Mac software install
Once the software has been installed on your Mac, you can eject the mounted image by pressing control and clicking the mounted image, then select Eject. Then press control and click the file and select move it to trash.