How to Winterize Inground Pool Without Draining Water: Winterizing an inground pool with a vinyl liner without lowering the water level may seem challenging, but it's a task that many homeowners can handle with the right tools and guidance. After paying over $1500 annually for professional pool closing services in the Midwestern USA, we decided to do it ourselves. The initial investment in equipment was a fraction of the cost, and we've saved over 80% each year since.
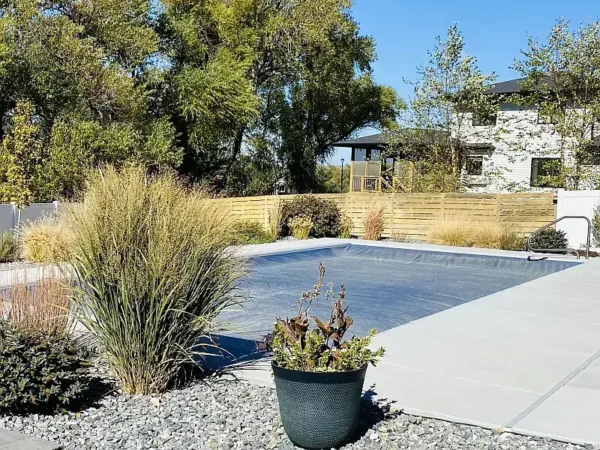
In this guide, I'll share the exact steps we use, along with key tips, tools, and troubleshooting advice to help you winterize your pool confidently. By following these steps, you can protect your pool and save significant money on professional services. If you're a visual learner, check out the linked video tutorial for additional guidance!
Vinyl Liner Inground Pool Winterization Video
Why Winterize a Pool Without Draining Water?
For pools with vinyl liners, maintaining water at its normal level prevents the liner from shrinking or shifting in cold temperatures (If you have vinyl over steps, this is likely a must). As a bonus, leaving the water level high conserves water and reduces the effort required to refill the pool during spring opening.
What's Needed to Winterize Inground Pool?
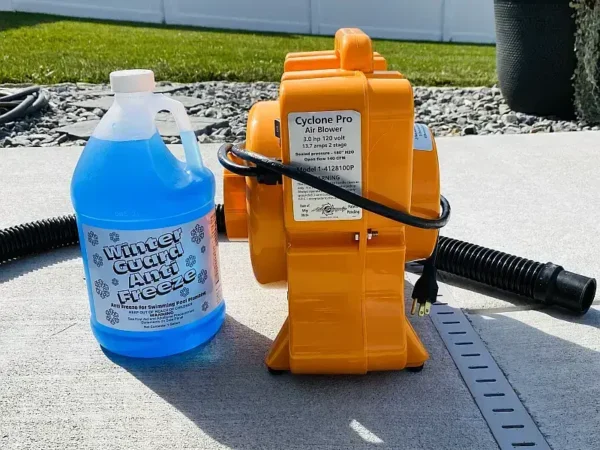
To Winterize an Inground Pool without draining water, you'll need the following parts and tools:
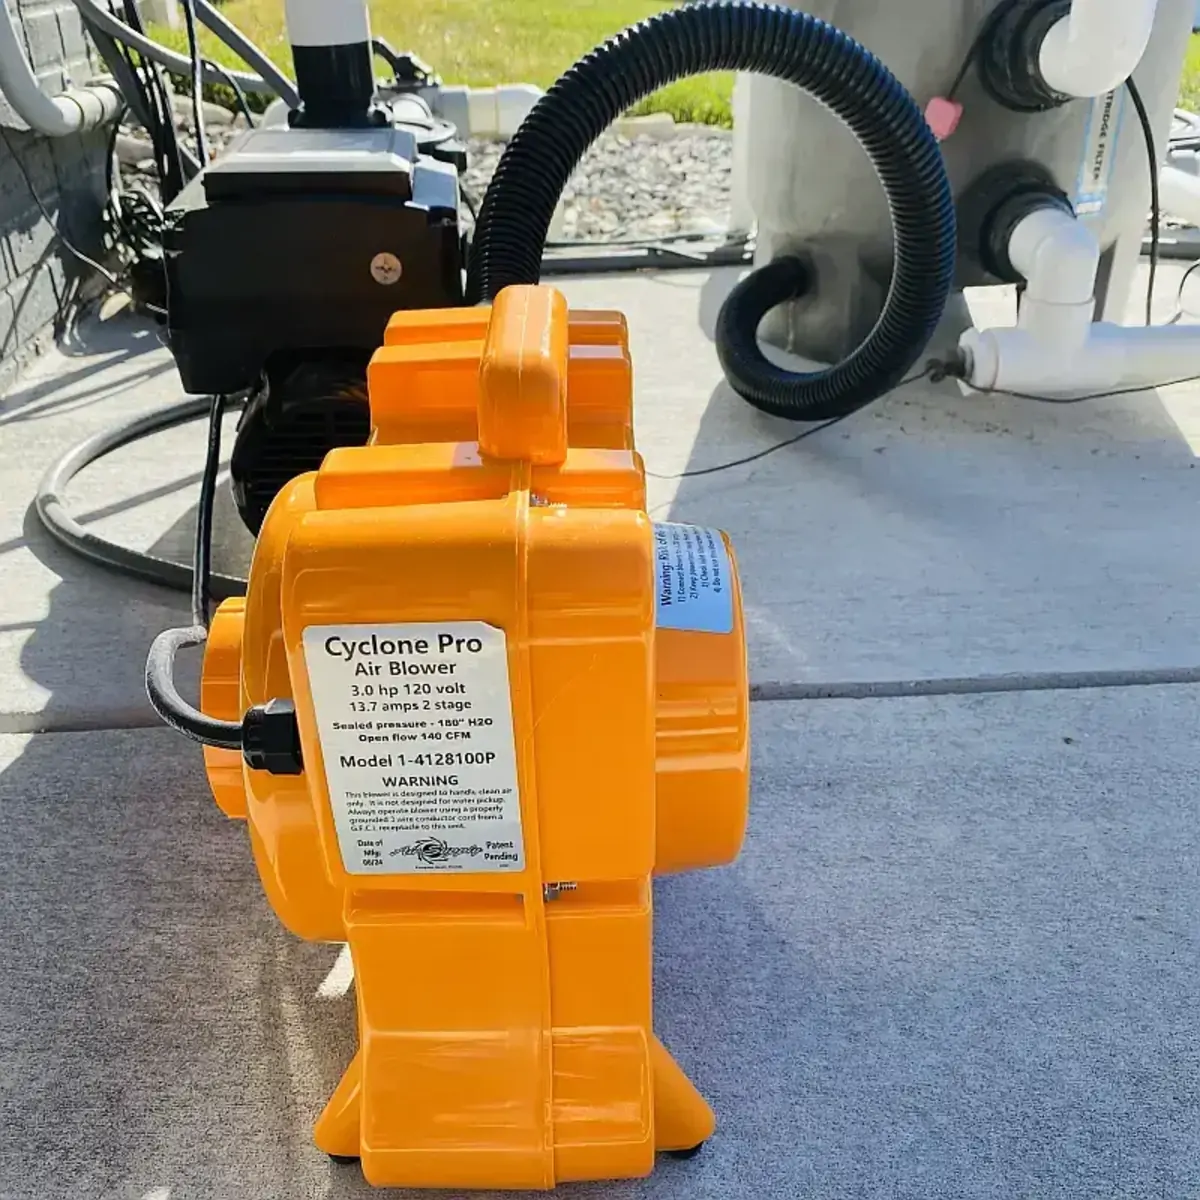
- A high-quality pool line blower like the Cyclone Pool Line Blower.
- A durable pool hose such as the JED Pool Tools 60-345-06 Hose.
- The Gizzmo Pool Skimmer Plug with Blowout to protect your skimmer.
- A Wide Foam Skimmer Face Cover for skimmer water intrusion - freeze protection.
- Winterizing plugs for pool nozzles and jets, available here.
- Pool and Spa Winterizing Antifreeze to protect your lines from freezing.
Once you've gathered these tools, you're ready to get started.
Winterizing Inground Pool without Lowering Water Level
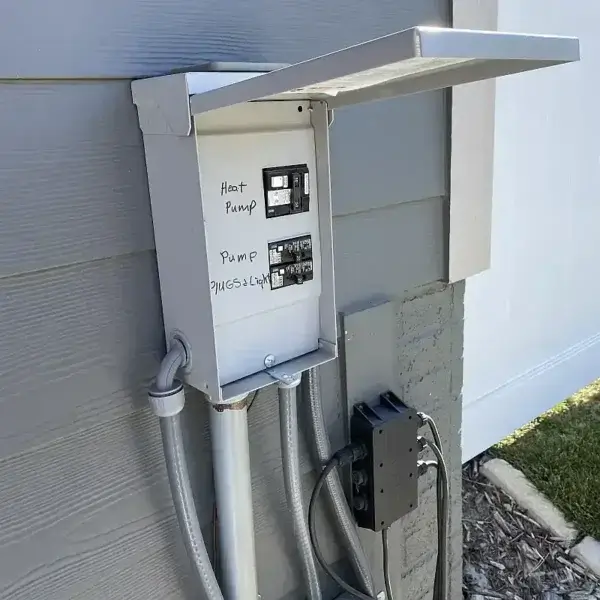
- Turn off the breaker power to your pool pump and accessories.
Check all circuits to prevent electrical hazards.
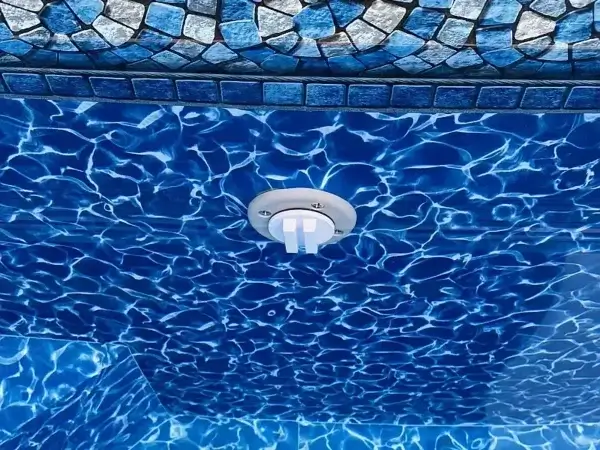
- Plug all the nozzles to prevent water from entering the return lines.
Hand-tighten plugs until the o-ring is seated, then turn another 1/4 turn to seal.
- Prepare the skimmer.
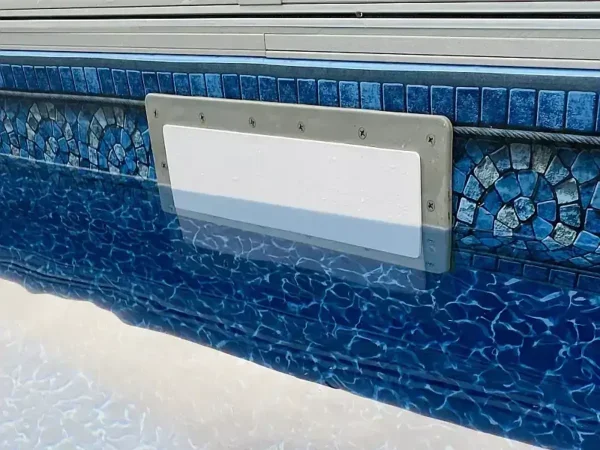
Remove the skimmer trim ring and plug the skimmer with the foam plug.
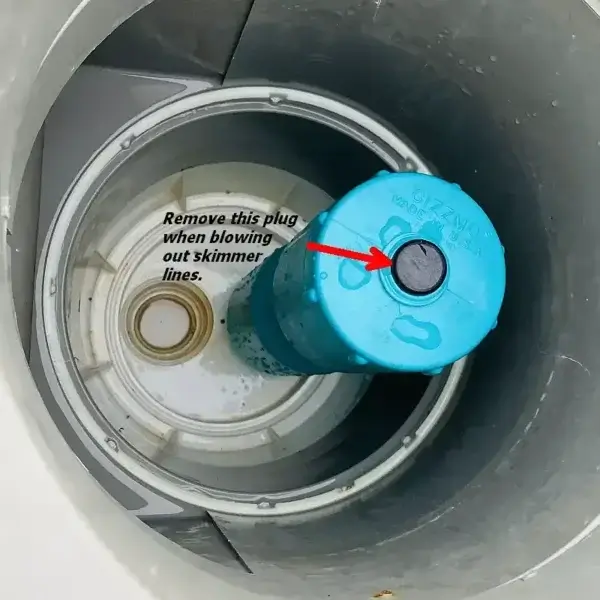
- Insert the Gizzmo into the skimmer return line hole.
Remove the plug from the Gizzmo to allow the water to flow.
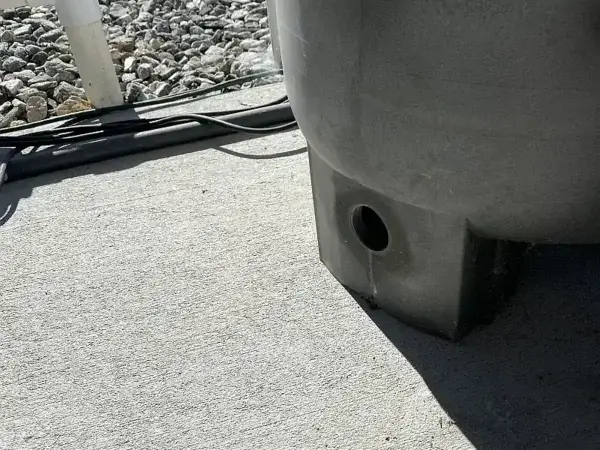
- Drain water from the filter and lines.
Remove the filter drain plug from the filter and allow water to drain.
- Remove the blowout plugs from the nozzle lines.
These are usually located on the deck, directly above the last nozzle for each run.
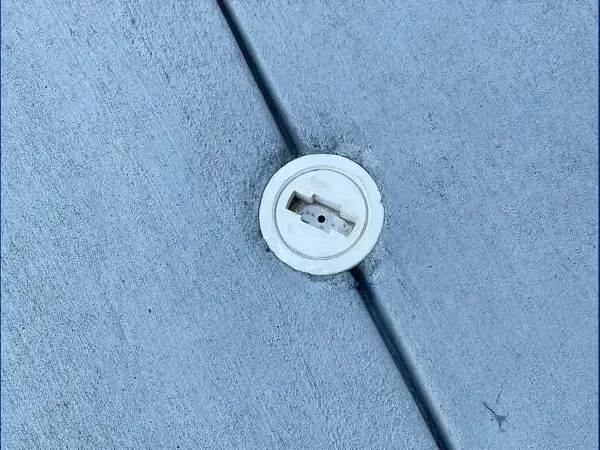
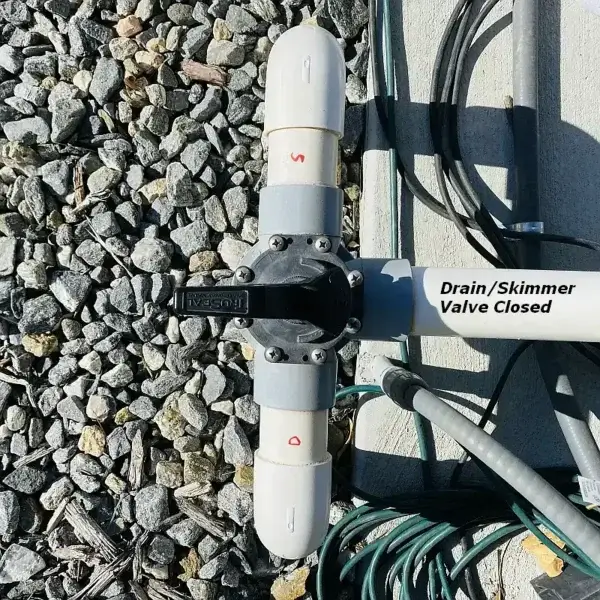
- Close the return valve for the skimmer and bottom pool return lines.
Prevent flow from going to drain or skimmer pipes.
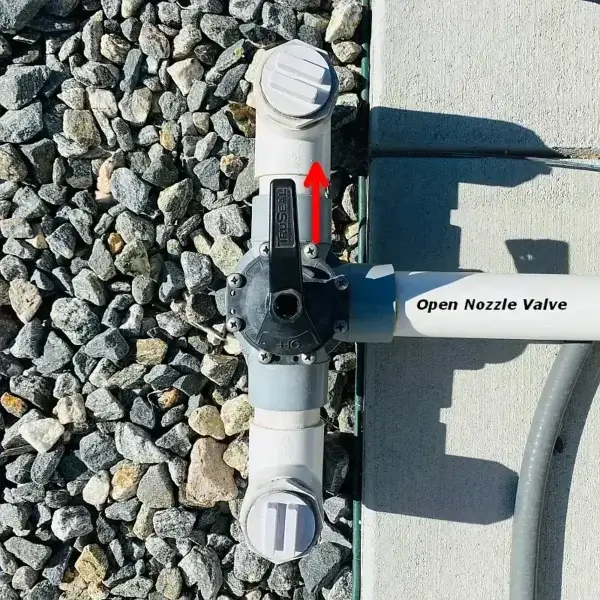
- Then, Open the valve to the nozzles/jets.
Allowing flow to the nozzle piping.
- Insert the Cyclone Pool Line Blower hose into the pool filter plug opening.
While holding the hose in place, turn on the Cyclone and purge the pipes.
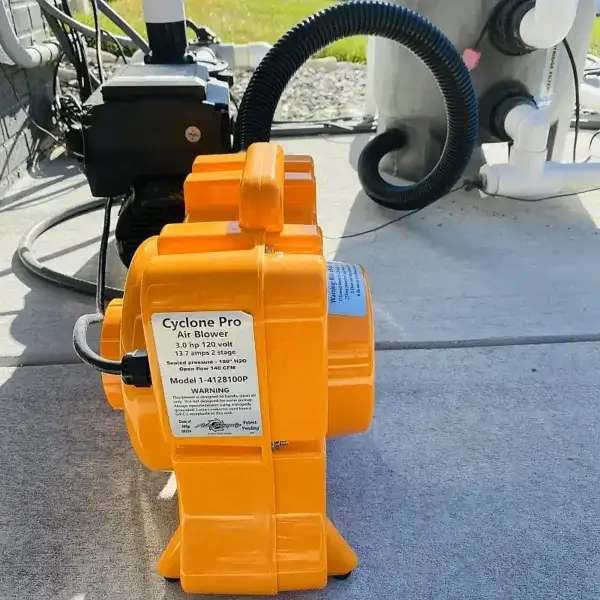
You'll start to see water spray from the nozzle blowout openings.
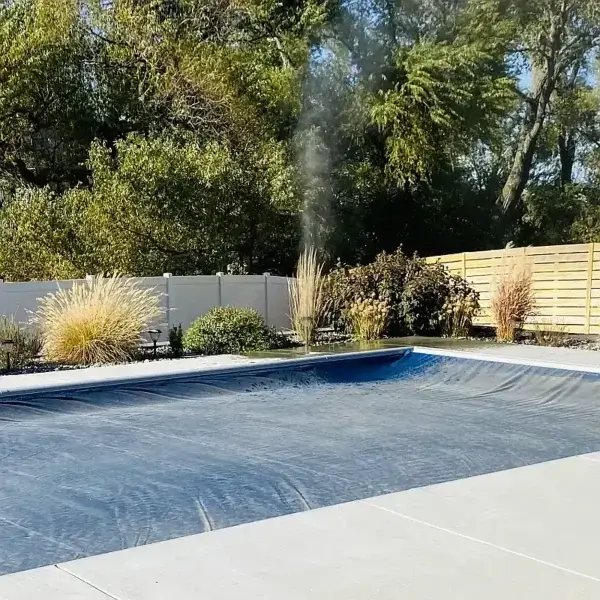
Keep the blower running until the water becomes a fine mist, then turn off the blower and move to the next step. - Close the valve for the supply nozzles/jets
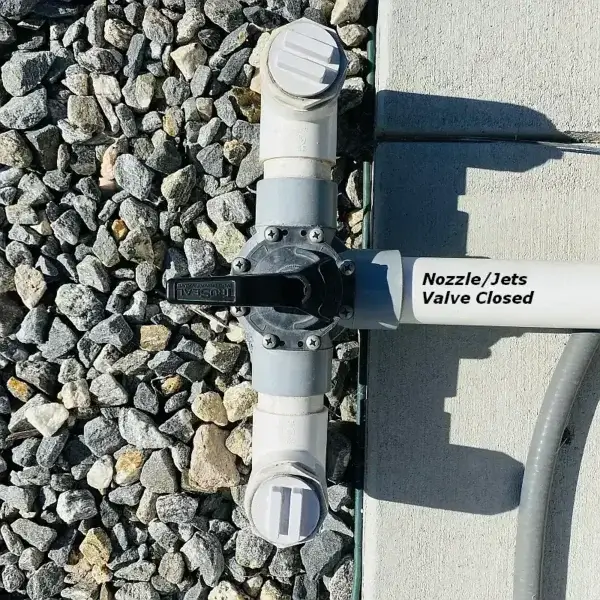
Open the valve for the return skimmer line only.
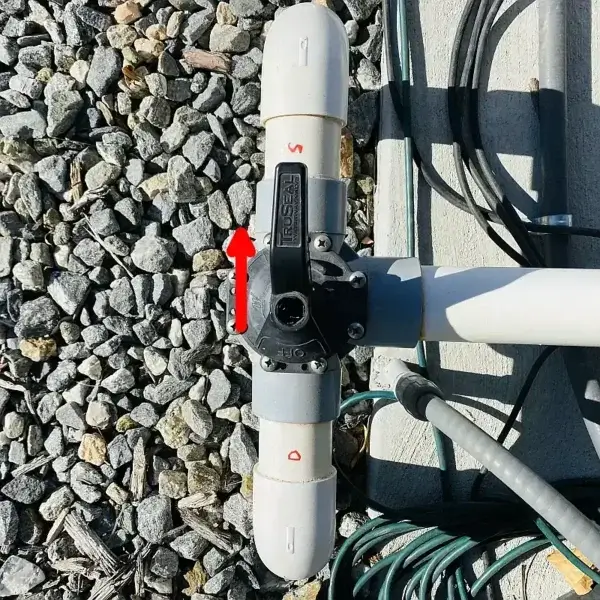
- Run the Cyclone pool blower again.

Run until only a fine mist is coming from the skimmer Gizzmo. Then turn off the Cyclone. - Turn the turn the valve from skimmer to the pool bottom return drains only.
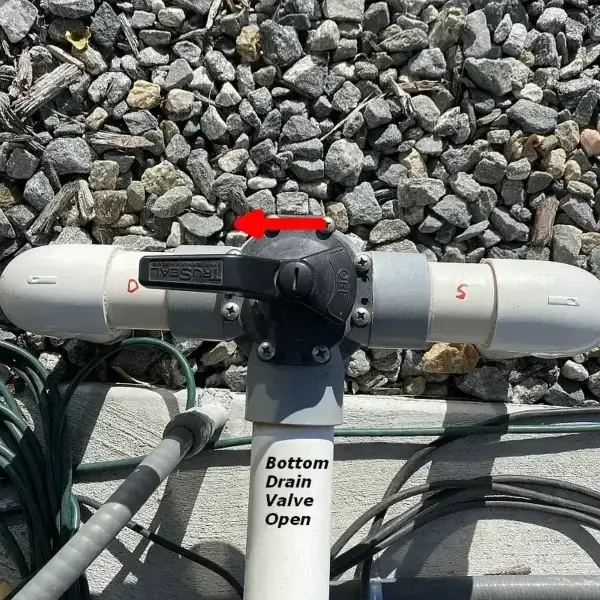
- Run the Cyclone again.
You should see aggressive bubbling from the bottom drains. Let this run for a few minutes, then quickly move the valve to the Skimmer while the Cyclone is still running. Once the valve is blocking off the drain, turn off the Cyclone.
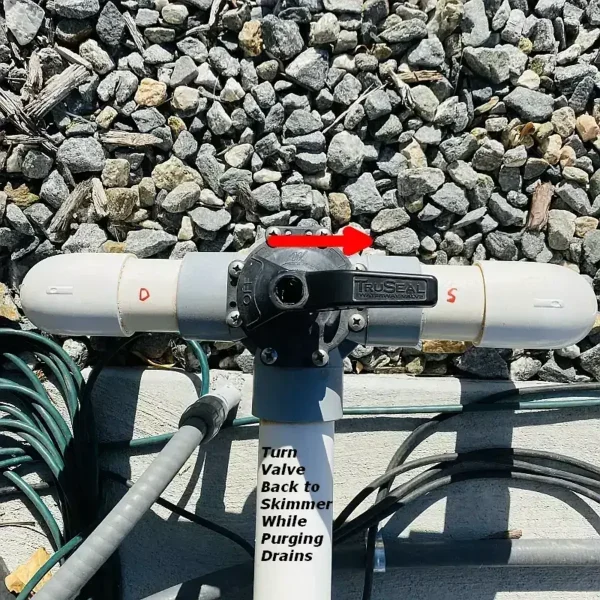
This process purges the bottom return lines of water and vacuum locks the air in the lines (like capping a straw). Leave this valve closed through the winter. I also remove the handle from the valve assembly once finished to ensure it stays that way. - It's a good idea to go back and blow out the skimmer once again just to be sure those lines are clear. To do this, since the skimmer piping is already open, just run the Cyclone again until you see a fine mist coming from the Gizzmo and then move to the next step.
- Using a funnel, pour a couple of gallons of Pool and Spa Winterizing Antifreeze into the Gizzmo's top opening, and into the blowout plug openings for the nozzle lines.
- Plug the Gizzmo with the black plug you previously removed and replace the deck blowout plugs for the nozzle lines.
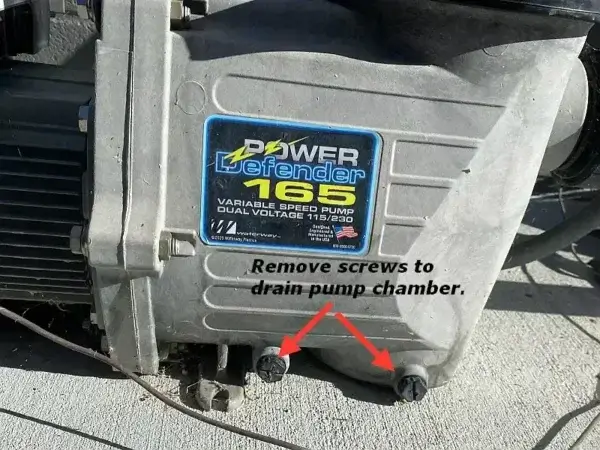
- Drain the pump chamber.
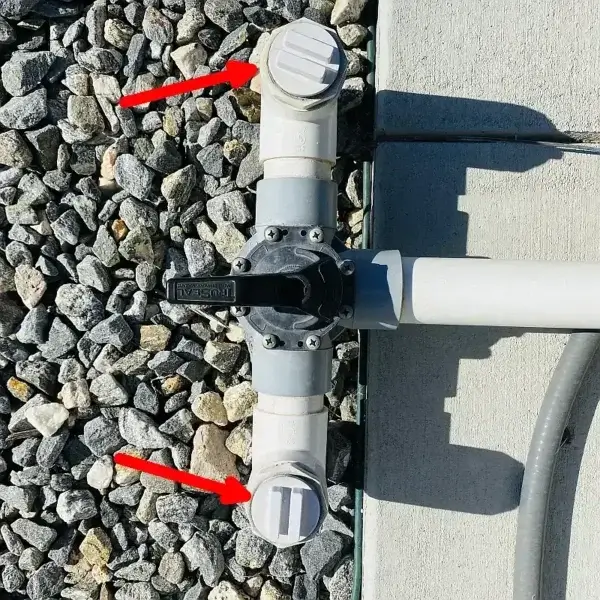
- If there are caps near the pump for the nozzle feed lines, remove them.
Then pour a couple of gallons of antifreeze into them, then replace the caps.
- Double check that all water has been drained, and you're done!
Pool Winterizing Tips and Troubleshooting
- Ensure all water is removed from lines to prevent freezing damage.
- Don't overtighten nozzle plugs, as it could damage the o-rings.
- If the Cyclone blower isn't producing a fine mist, check for blockages, leaks or dislodged hose connections.
Final Thoughts
By following these steps, you'll protect your pool from winter damage and save money compared to professional services. While the upfront investment in equipment is necessary, the savings will more than pay off in the first year.
Need help troubleshooting chlorine levels after winter? Check out my post about pool shock not raising chlorine level for tips!
Note: Amazon Affiliate links are mentioned in this post and this site benefits from a small kickback from any item purchased during your visit, at no additional cost; actually, in most cases, an additional savings is passed on to you.
